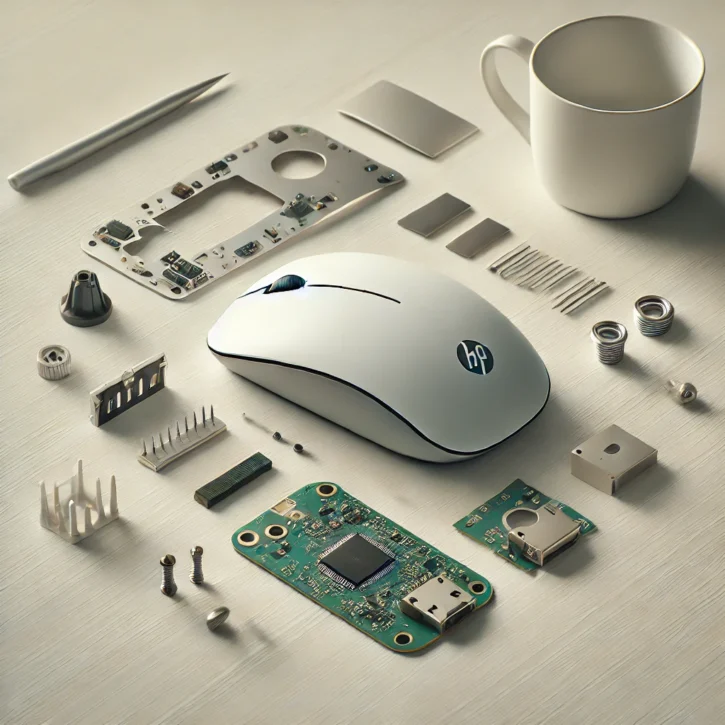
If you’re having trouble with your HP wireless mouse SM-2064 or simply want to clean or repair it, disassembling it can be helpful. Here’s a step-by-step guide to safely disassemble the mouse.
What Tools Will You Need?
- A small Phillips screwdriver
- A plastic prying tool or a flathead screwdriver
- Tweezers (optional for handling small parts)
How to Locate the Screws?
- Remove the Battery Cover: Open the battery compartment and take out the batteries. The screws are often hidden beneath the label or inside the battery compartment.
- Check Under Stickers or Pads: Look for screws concealed under any stickers, rubber pads, or labels.
How to Open the HP Wireless Mouse SM-2064?
- Unscrew the Screws: Use the Phillips screwdriver to remove all visible screws.
- Pry the Mouse Open: Use the plastic prying tool or flathead screwdriver to gently separate the top and bottom halves of the mouse. Start from the sides and work your way around.
- Disconnect Internal Clips: Be cautious of any plastic clips holding the two halves together. Use minimal force to avoid breaking them.
How to Handle the Internal Components?
- Identify the Circuit Board: Once opened, locate the circuit board and note its connections.
- Detach the Circuit Board (If Necessary): If you need to remove the circuit board, unscrew it carefully and disconnect any wires or ribbons.
- Clean or Repair: Use a soft brush or compressed air to clean dust and debris. Handle all components with care to avoid damage.
What Precautions Should You Take?
- Power Off: Ensure the mouse is turned off and batteries are removed.
- Work Gently: Avoid applying excessive force to prevent damaging internal parts.
- Keep Track of Screws: Place screws and small components in a safe place to avoid losing them.
How to Reassemble the Mouse?
- Reconnect Internal Components: If you removed the circuit board or other parts, reconnect them carefully.
- Align the Halves: Align the top and bottom halves of the mouse and snap them back together.
- Screw It Back: Replace all screws and ensure they are securely fastened.
- Replace Batteries: Insert the batteries and test the mouse to ensure it’s working properly.
Conclusion
Disassembling the HP Wireless Mouse SM-2064 is straightforward if you follow these steps carefully. Whether you’re cleaning it or fixing an issue, always handle the components with care. If you’re unsure about any step, consider consulting a professional.


